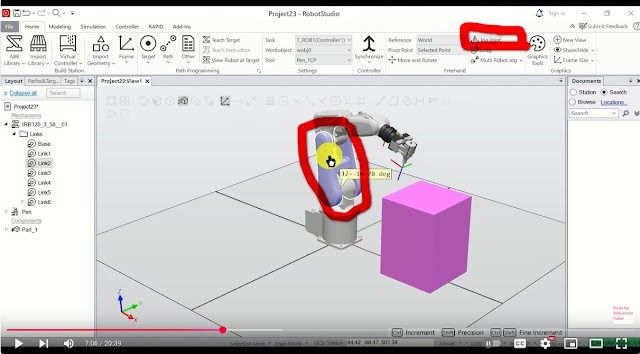
#16 Tutorial : How Easily Program ABB Robots Using FlexPendant - Teach Pendant
#15 ABB RobotStudio Tutorial : How to Memorize Points for ABB Robot Programming
#14 ABB RobotStudio Tutorial #14: How to Memorize Robot Points using FlexPendant
https://youtu.be/D0anoKb3lCk?si=VOnCvWBjq6gNyT80
#13 ABB RobotStudio Tutorial #13: How to Move-Job ABB Robot using FlexPendant
#12 ABB RobotStudio Tutorial: Overview - How to Properly Create Workobject Frames and Move Robots in Workobject Frames (4:03)
https://youtu.be/lfuB3YtU87g?si=rx1un7eIBps2MsH0
#11 ABB RobotStudio Tutorial: Short Overview - How to Program ABB Robots to Follow a Path (1:08)
https://youtu.be/esaH-5TbARg?si=6kHEvek9GfkptyQX
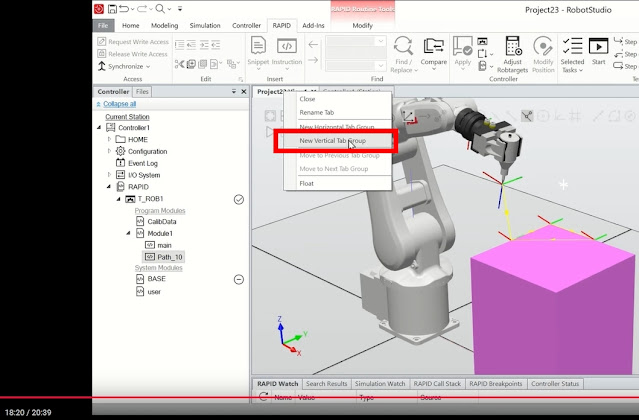
#10 ABB RobotStudio Tutorial: How to Easily Program ABB Robots to Follow Path - RAPID and RobotStudio (20:39)
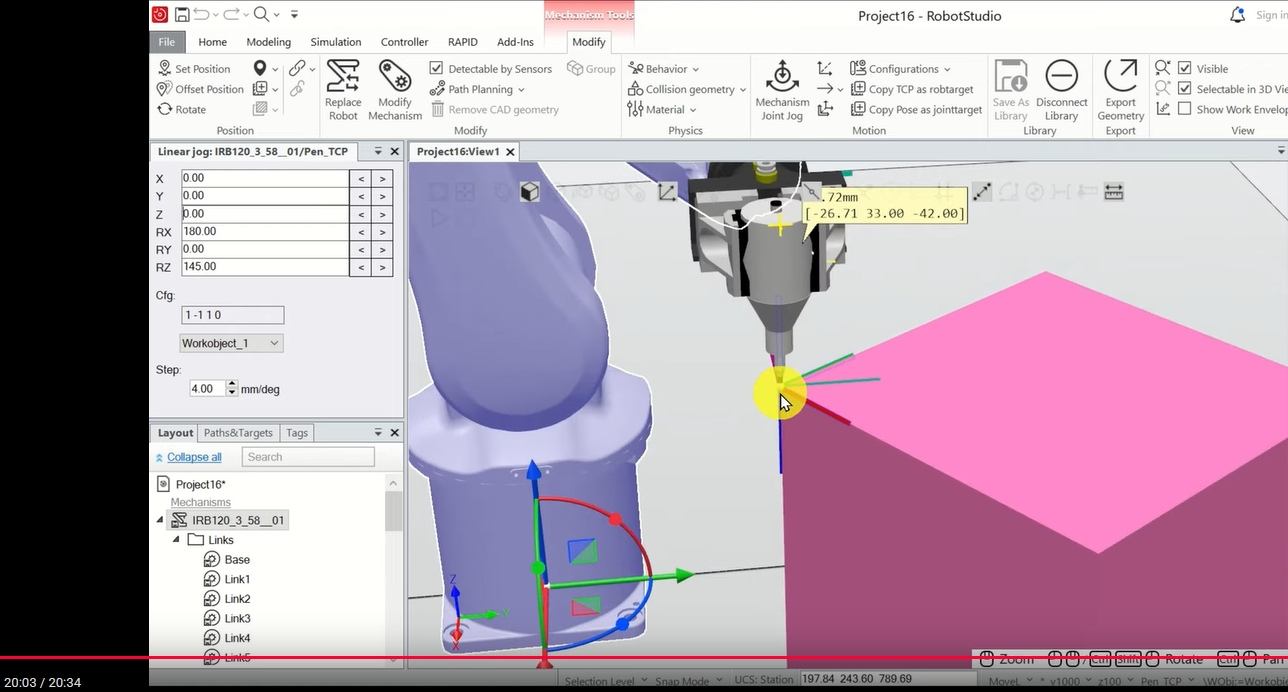
#9 ABB RobotStudio Tutorial : How to Define Workobject Frames and Move Robot in Workobject Frames in ABB RobotStudio (20:34)
https://youtu.be/5fdcGGy9IzI?si=moi78FApjbGQ61qZ
In this robotics and ABB RobotStudio tutorial, we explain how to
1) Model a 3D geometry in ABB RobotStudio.
2) Properly define workobject frames and workobject coordinate systems by using a three point method 3) How to easily move the robot in the defined workobject frames.
#8 ABB RobotStudio Tutorial: Robot Studio - Calculate and Visualize Robot and Tool Work Envelopes (9:57)
https://youtu.be/MNnLMbWtWRk?si=pOfriZGSJN-Akgng
Explain how to calculate and visualize robot and tool work envelopes.
Robot work envelopes are very important for understanding the limits of robot motion and for properly placing external objects such that robots can reach them.
#7 ABB RobotStudio Tutorial : How to Define Path and Move Robot Along a Path (10:38)
How
to define a path for robot by using a teach method, and how to move the
robot along the defined path. Also explained how to add a welding tool
to the ABB RobotStudio model.
https://youtu.be/rjloXwAP2ig?si=aUjYJXwca5xj4nC7&t=284
#6 ABB RobotStudio Tutorial #6: Insert Gripper or End-Effector and Attach it to the Robot Model (11:08)
how to create a new ABB Robot Studio project, add a robot model to the project, and how to attach a robot gripper or an end effector to the robot model and how to move the robot together with the attached end-effector.
- Started RobotStudio
- Add a robot,
- Install Virtual Controller for the given robot's configuration.
- Add a tool,
- Make tool associated with the robot. This automatically attaches the tool's reference frame to robot's flange which is end-effector,
- Then,
https://youtu.be/XpDZ1JnFotM?si=AjgybcH2qfHfxPad
#5 ABB RobotStudio Tutorial #5: How to Add Gripper and Program Robot Path in ABB Robot Studio (1:05)
2. Add a robot,
3. Add a tool,
4. Make tool associated with the robot. This automatically attaches the tool's reference frame to
5. robot's flange which is end-effector,
6. Then, install Virtual Controller for the given robot's configuration.
#4 ABB RobotStudio Tutorial #4: How to Add Gripper and Use Teach Method to Define Robot Path and Program Robot (13:07)
1. Started RobotStudio
2. Add a robot,
3. Add a tool,
4. Make tool associated with the robot. This automatically attaches the tool's reference frame to
5. robot's flange which is end-effector,
6. Then, install Virtual Controller for the given robot's configuration.
https://youtu.be/sWHIDwr8Mv4?si=tcO7ldTXZ3uy8tGz
#3 ABB RobotStudio Tutorial #3: Motion Modes Using Teach Pendant-FlexPendant- Linear, Axis, Reorientation (15:22)
#2 ABB RobotStudio Tutorial #2: Zoom, Rotate, and Pan the Main Workspace View
https://youtu.be/P7MS_EfAOKs?si=yOB4vaPU6q8eGfq0
In this ABB RobotStudio tutorial,
- explain how to zoom, rotate, and pan the main workspace view
- how to add a robot to the workspace.
#1 ABB RobotStudio Tutorial #1: Mouse/Key Commands, Rotating Robot Joints and Linear Motion
ABB RobotStudio Tutorial: Mouse/Key Commands, Rotatin
1.) To open a new project and add a robot in ABB RobotStudio
2.) Manipulate the view: Zoom, rotate, and pan the robot view and workspace view in ABB RobotStudio.
3.) Create a virtual controller in ABB RobotStudio
4.) Jog/move the joints by using mouse buttons in ABB RobotStudio
5.) Move the robot along x,y,z axes and rotate in ABB RobotStudio
6.) Enter rotation angles and change of position by using keyboard keys in ABB RobotStudio.


0 件のコメント:
コメントを投稿